In the inventory menu, there is a function called “Inventory Review” which allows you to analyze a product line’s mins & maxes and make adjustments without immediately applying them. This gives you a chance to work on your order points over a time period without making the final changes until you are ready. There are several analysis tools that you can use to suggest mins & maxes changes, such as a weighted scale of sales history, recent sales, missed sales, and manufacturer classification. The Inventory Review displays all important information like recent sales (QTD), the past 3 years of sales, date last sold, and more.
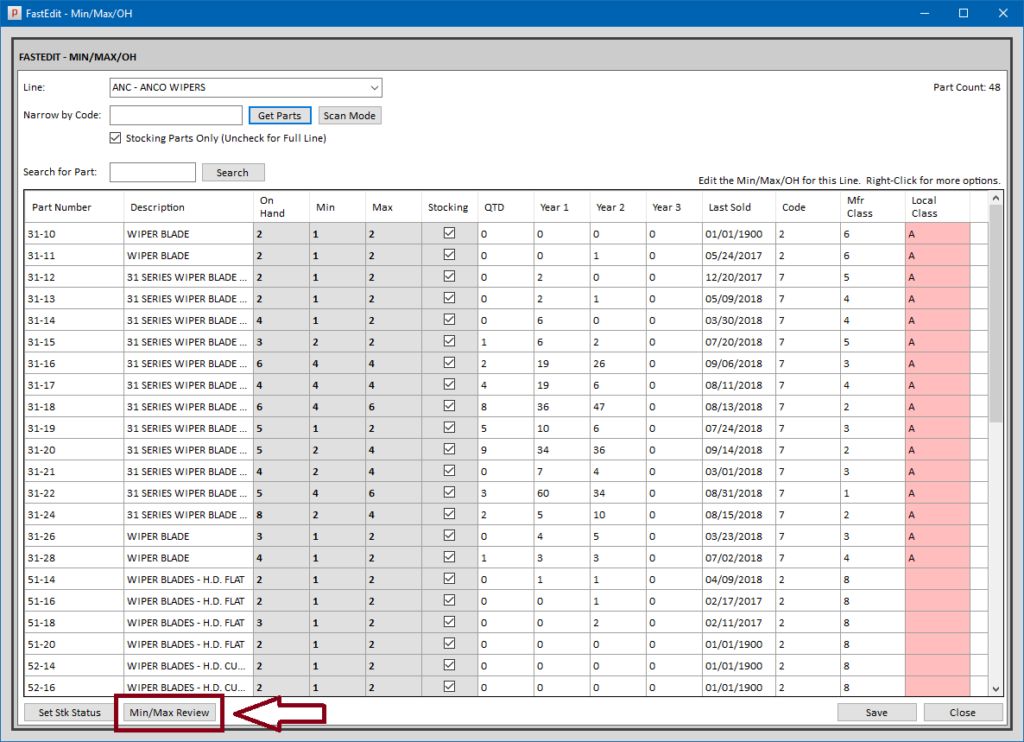
To begin an inventory review, you start at the FastEdit Screen. Select your line code and hit the “Get Parts” button to get the parts on the screen. At the bottom left, there’s a button called “Min/Max Review.” Follow the prompt to create the review.
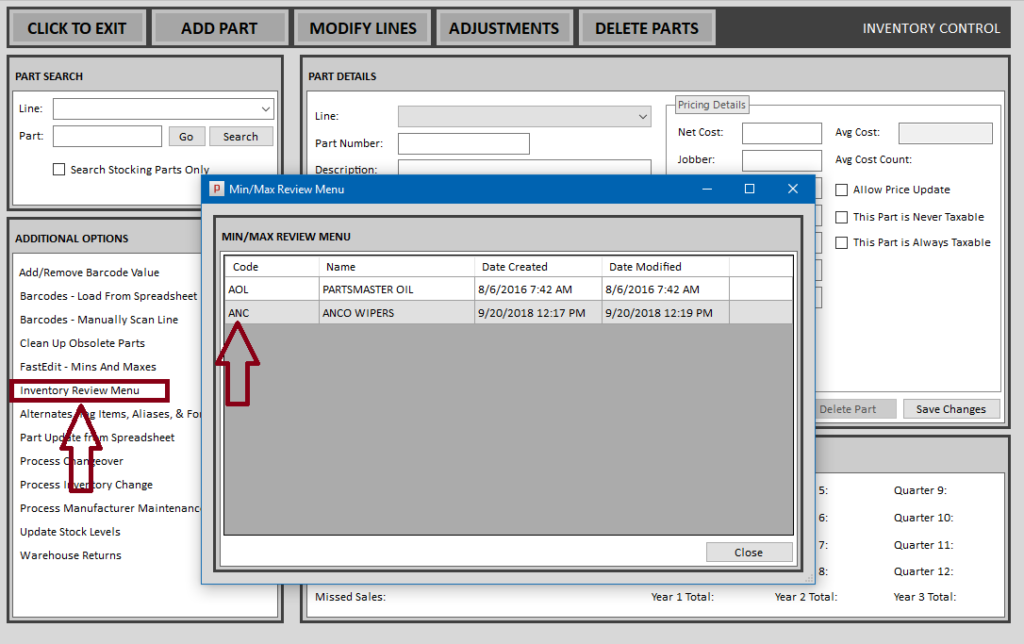
After that, in the inventory screen you can hit the link on the left for the Inventory Review Menu. When that comes up, double click on the line code that you just created the review for.
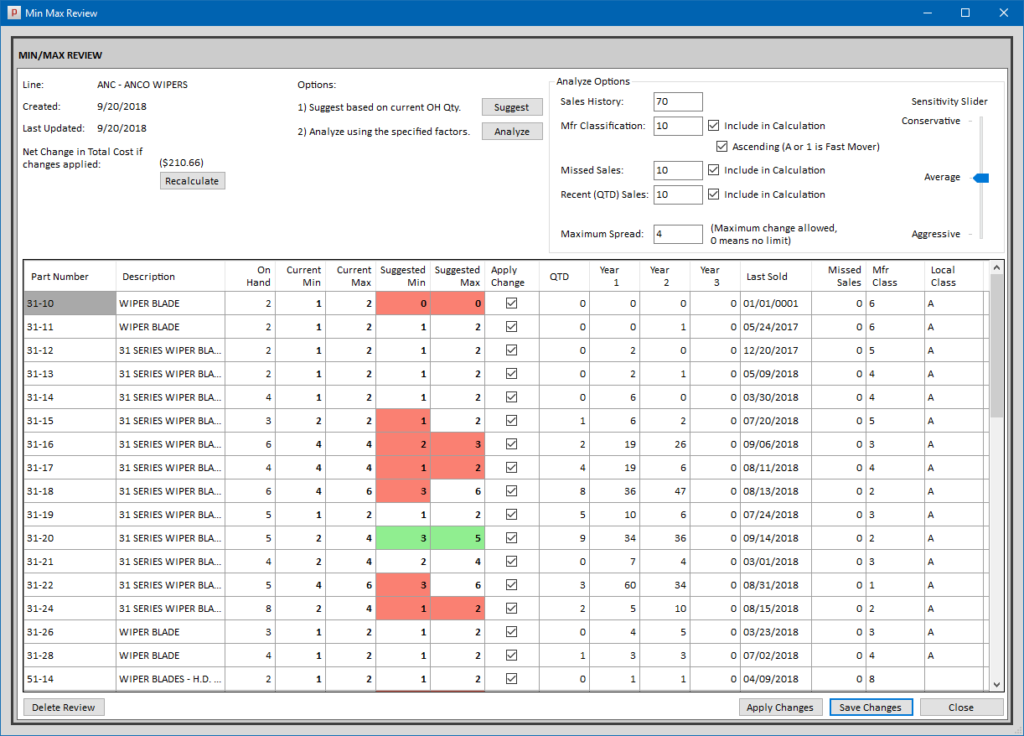
This will bring up the Inventory Review for this line code. Note that you can come back and forth to this screen as often as needed. No changes are made until you use the “Apply Changes” button at the bottom. The “Save Changes” button just saves the review for further modification, it does not actually apply the min/max changes.
On this screen, you have two basic options:
- Suggest Based on Current OH Qty – this will suggest mins/maxes based on your current on hand. Max will be set to on hand, min will be set to half of that.
- Analyze Using the Specified Factors – this will use the options at the top right corner to suggest changes (if any) to the mins/maxes.
- For the weighted scale options, you can change these factors if desired.
- There is a “maximum spread” option that will limit the change if the suggested change is substantially higher or lower than the current level.
- There is also a sensitivity slider. “Conservative” means it will generally want to stock more to limit missed sales, “Aggressive” means it will not suggest substantial changes.
From there, you can make manual changes.
On the top left there is a “Net Change” total that shows you the net change in inventory if the changes in suggested stocking levels are applied. After making manual changes, you may need to hit “Recalculate.”
Suggested changes that are higher than the existing min/max levels will be highlighted in Green, suggested changes that are lower will be highlighted in Red.
When you are all done, just hit the “Apply Changes” button and it will apply the changes to the min & max stock levels. If you want to cancel the review, you can hit the “Delete Review” button at the bottom left. This will cancel the review only – it will not affect existing inventory.
One Comment on “How To: Perform an Inventory Review”
Comments are closed.
verry good
will help